
There
is a lot of talk about mineral makeup vs "regular" liquid
makeup. I want to discuss each makeup
type, talk about its benefits and disadvantages, who can wear it and who should
stay away from it.
First
of all when I use the term "makeup" – I am talking about the makeup
foundation that should be applied on your entire face, under your chin and sparingly
on the upper part of your neck. The purpose
of this makeup foundation is to create a clean, even-toned "canvass"
of your entire face. On top of this "canvass"
we will apply eye makeup, blush and lip color.
Good foundation ensures that your eye/cheek/lip makeup glides on more
smoothly, easily and adheres to your face more evenly and stays on much longer.
Let's
begin by tackling the terms:
Mineral
Makeup foundation
Mineral
makeup: Mineral makeup can be used as a powder makeup
foundation. The powder contains metals
such as zinc, mica and so on. Mineral
makeup is NOT a healthier alternative to liquid makeup. The word 'mineral" does not make it a "health
food". This powder makeup is found in a loose powder * version and
a pressed powder ** version.
Mineral makeup comes in many shades from very light to quite dark. When
applied, the face usually has a bit of healthy shine and has a bit of
softness to the touch.
Usually
pressed mineral powder cannot be mixed with water to create a paste that
can be used as a cover-up cream/concealer, as opposed to non-mineral pressed
face powders that can be used this way. You
can read more about this technique below.
*Loose
powder means just that: The powder is loose and soft, will fly everywhere
if the container is opened carelessly.
The loose powder container is usually somewhat deeper and larger than a
pressed powder compact. You usually
apply loose powder with a large bristled makeup brush or a powder buff.
**
Pressed powder means just that: The powder is pressed into
a compact. It will not fly everywhere
when the compact is open, but if you drop the compact – you will have
powder everywhere. This powder can be
applied with a makeup brush or a powder buff.
Mineral
shimmers: These shimmers are also mineral-based powders that are used as a blusher
or highlighter on specific areas of the face.
As its name suggests, the powder is shiny. You can apply this shimmer with a large
bristled makeup brush. Once all your
makeup (foundation, eyes, cheeks and lips) is applied, you can lightly and
sparingly apply this shimmer to areas that would normally shimmer in full
lighting.
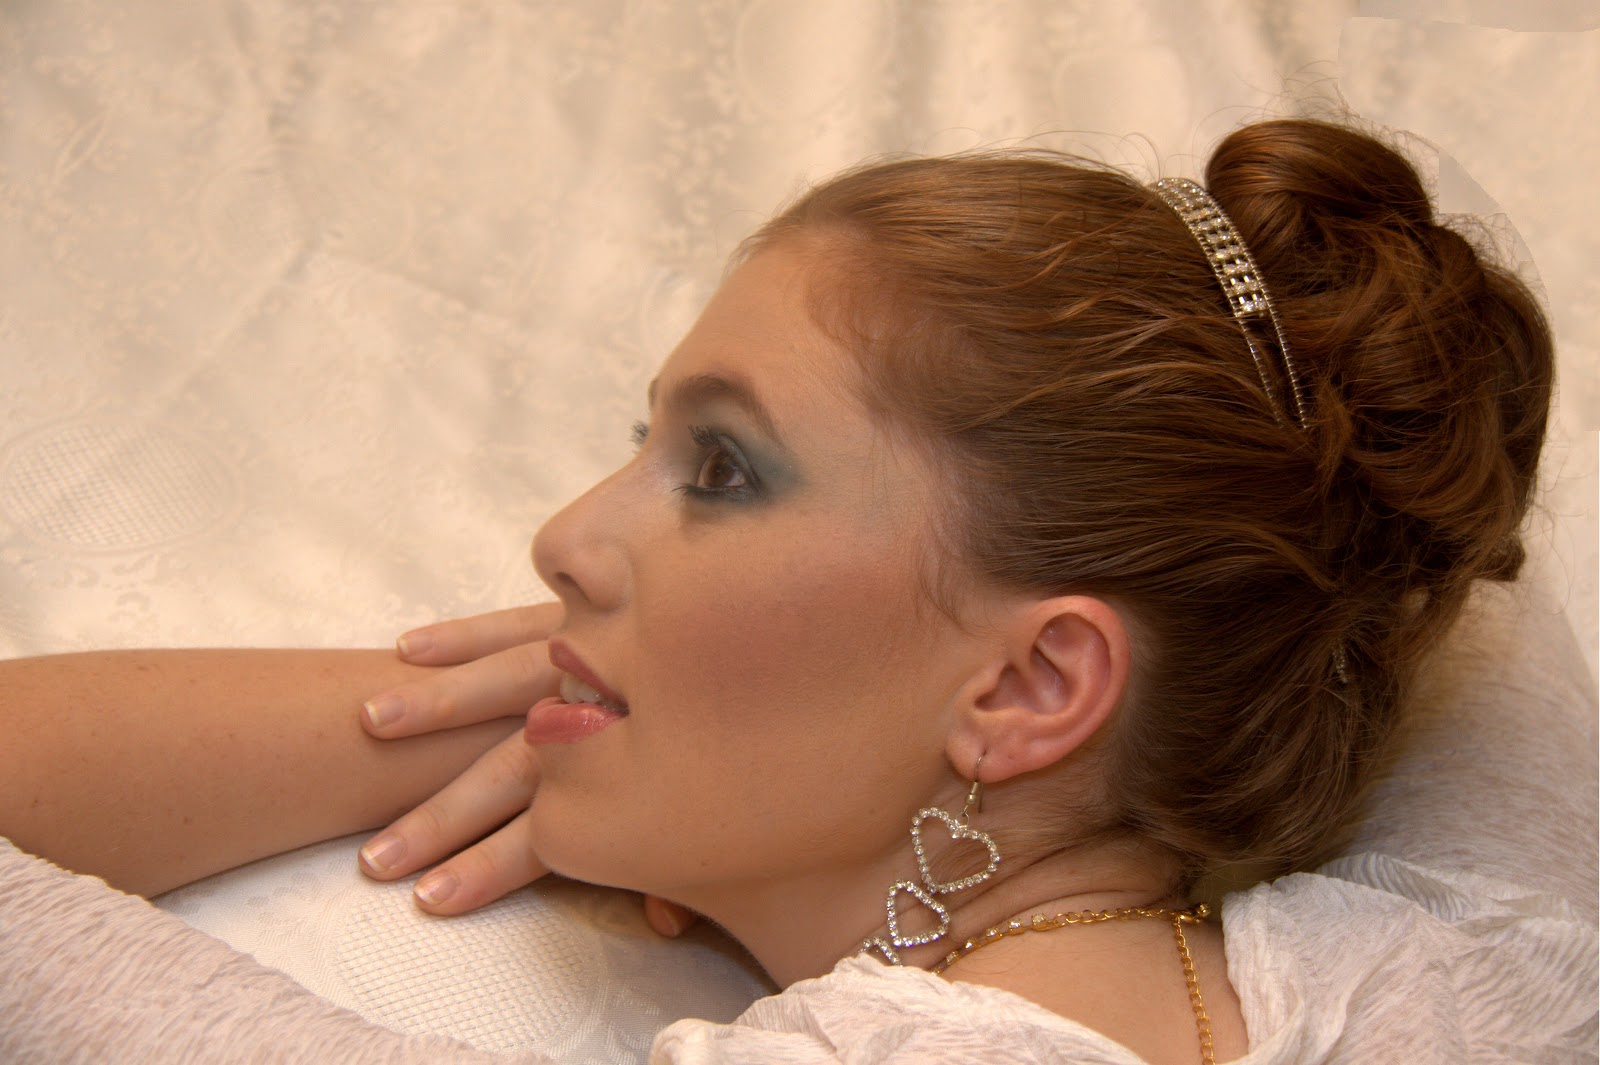
This
shimmer is usually used as one of the final steps in the bride's makeup application to give
her an over-all, healthy glow; it is usually applied to the tops of the apples
of the cheeks, the chest area in a lower cut gown, a touch on the ridge of the
nose. Keep in mind: as the shimmer reflects
light in pictures, it must be used sparingly, otherwise the facial shots of the bride may
come out with white spots where too much shimmer reflected off the camera
flashes.
Non-Mineral
Powder Foundation
Non-Mineral
Powder Foundation: There are also non-mineral pressed powder
makeup foundations. These powders
usually have a drier ingredient such as talc or another alternative. As with mineral choices, this powder also
comes in loose and pressed powder versions. The same rules of caution apply to opening
powder containers. It is also available in several shades.
However
when non-mineral powder is applied to the skin, it tends to impart a dry
look and feel to the face. It can
used to take unwanted shine away from skin, but should be used very sparingly
with older, more wrinkled skin, as it dries the skin even more and tends to settle
into the wrinkles and makes them even more visible.
Non-mineral
powders CAN be mixed with a drop or two of water to create a paste that
can be used as a cover-up cream/concealer to conceal
unwanted dark areas under eyes, redness anywhere on the face or uneven skin
tone.
Liquid
foundation choices
I've
talked about these in the past. There
are completely liquid (cream) foundations and ones that come in a more solid
cream consistency. These foundations are
found in a variety of shades. They can be applied with your fingers, a makeup bush
or a sponge.
You
can use liquid foundation as a cover-up cream/concealer to conceal unwanted
dark areas under eyes, redness anywhere on the face or uneven skin tone. There are also specific concealer
products that you can buy.
Mineral
vs Non-Mineral Powder Options
Mineral
makeup imparts a soft glow to the skin, but is
for young ladies ONLY. Facial skin must
be PERFECT in order to use mineral powder makeup; skin without a whisper of a
wrinkle and without skin problems such as acne.
Mineral
makeup is perfect for young - under 23-25 year old - brides on their
wedding day. Having said this, I would not
use mineral powder makeup on a bride for a summer wedding. The mineral makeup will not hold up to the
heat and demands of an outside photo shoot, as well as the sweating, crying, kissing
and dancing involved in the eight to ten hours of the pre-wedding and wedding experience. Liquid cream foundation is a much more
reliable choice.
I
would not use non-mineral powder foundation options on ANYONE. These powders are drying and do not impart a
soft look to the skin.
Liquid
cream foundation is perfect for any skin. The amount used depends on the preferences of
the bride, her facial skin needs and the time of year of the event.
How
to apply makeup foundation:
·
Clean the skin
completely.
·
Apply a thin layer of
a very good facial cream to the skin and let it absorb into the skin for a few
seconds.
·
Next, apply a very
thin layer of foundation primer. I love
smashbox's (http://www.smashbox.com/products/6038/Face/Primer/index.tmpl)
primer. This product makes the skin feel
like silk!
· Now apply a concealer
to all the "problem" areas on the face: these can include pimples,
red areas usually around the nostrils, and the chin, dark areas under the eyes
and/or on the eye lids. This concealer
shade should be the same shade or a bit lighter than the natural skin tone. Cover
the area plus a bit more on every side. You can use a non-mineral powder and
water mixture, a liquid foundation or a concealer for this purpose. Gently pat (never rub) to apply this with
a sponge, makeup brush or your fingers.

·
Finally you can apply
the makeup foundation. I apply
foundation on the complete face, up to the hairline (blending to make sure
there is no demarcation line between the face and the hairline – this is NOT a
mask), on the eyelids and under the bottom lash line and under the chin and a
bit down the neck.

·
Now apply eye makeup,
blusher and lip treatment.
One
last note: as with all makeup, make sure you test the makeup products on your
skin before the wedding to ensure
that you have no allergic reaction to any of the makeup product choices.


